
 gradientuk.com
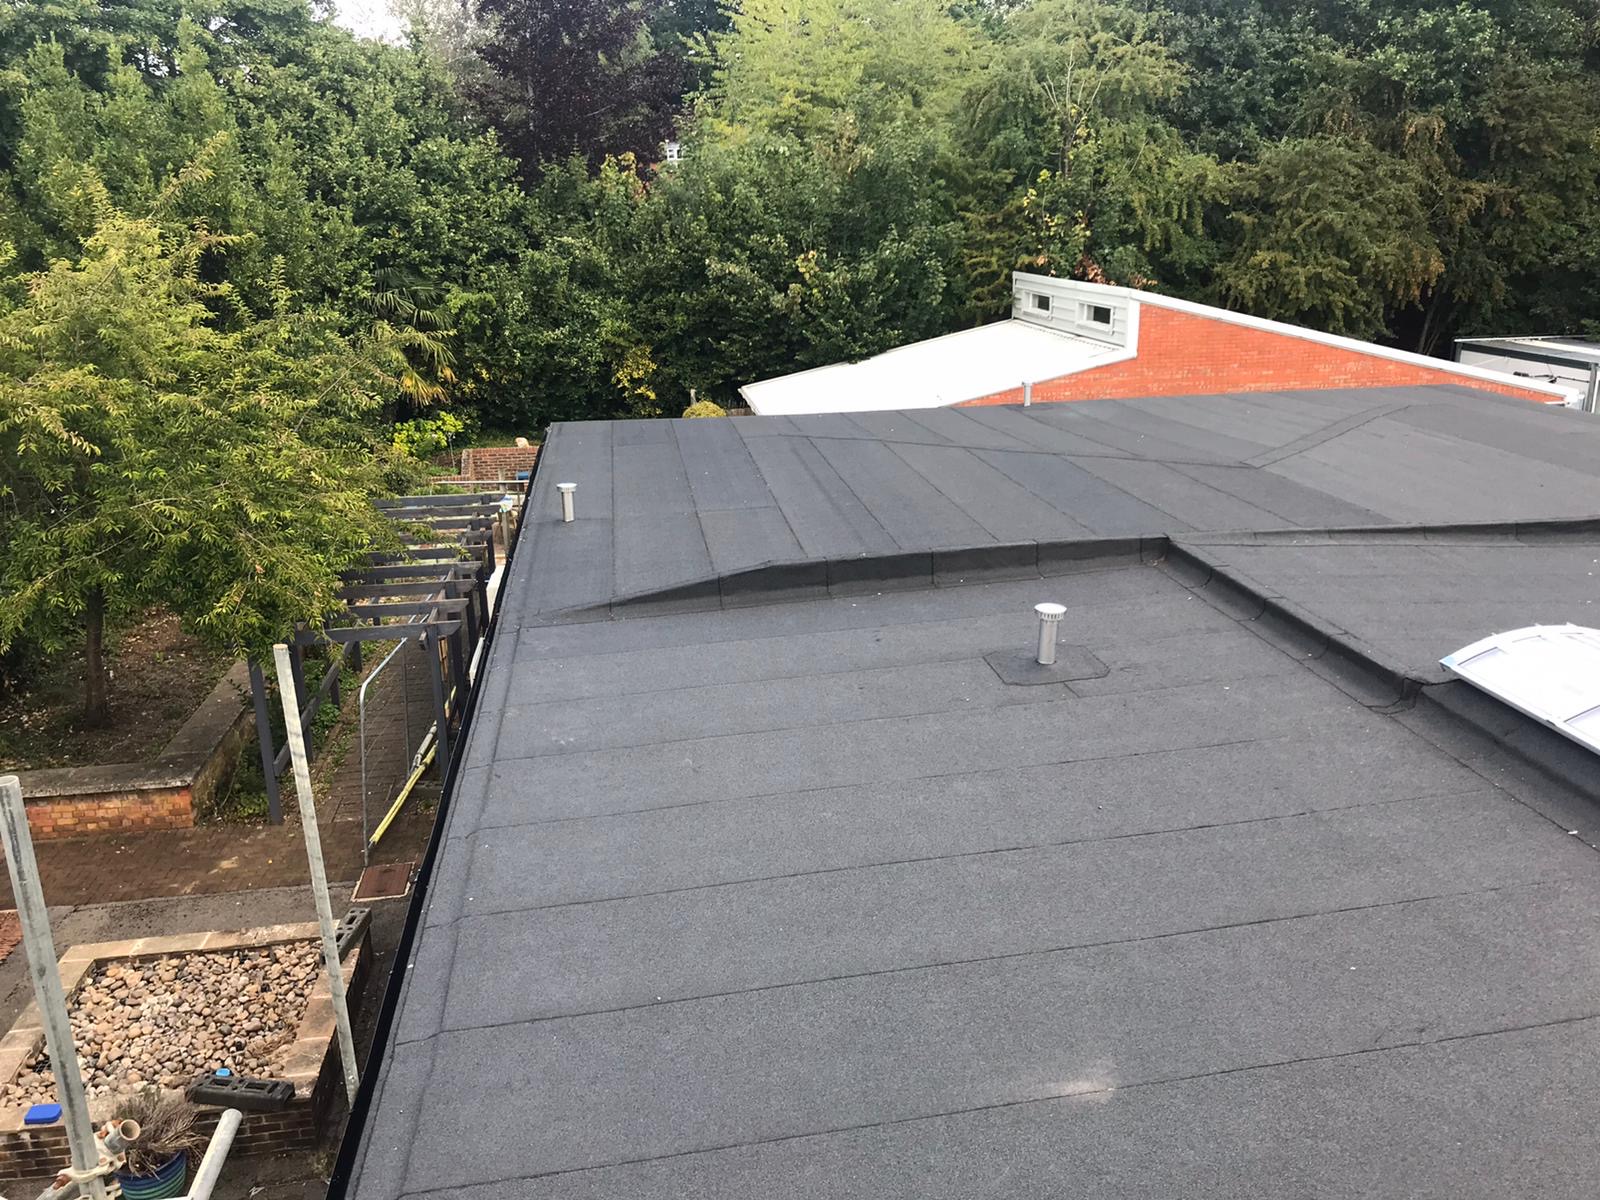
 Introduction: Creating a Gradient on a Flat Roof for Drainage A flat roof isn't truly flat; it needs a slight slope, or gradient, to allow rainwater to drain properly and prevent ponding. Building regulations often dictate the minimum slope required. This post will guide you through the process of creating a gradient on an existing flat roof using tapered insulation boards. Remember to always check your local building codes for specific requirements before starting any work.
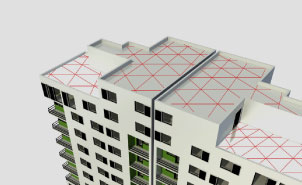
Step 1: Planning and Material Selection Before you begin, measure your roof area accurately. Research your local building regulations to determine the minimum required slope. Typically, this is around 1:80 (meaning for every 80 units of horizontal distance, there's 1 unit of vertical drop). Based on the roof size and required slope, calculate the necessary thickness of the tapered insulation boards at their thickest and thinnest points. Choose a durable, weather-resistant insulation material appropriate for your roof type (e.g., PIR, EPS). You'll also need adhesive suitable for bonding the insulation to the existing roof surface, sealant for the seams, and roofing membrane for a waterproof finish. Gather your materials: Tapered insulation boards, adhesive, sealant, roofing membrane, measuring tape, straight edge, pencil/marker, safety glasses, gloves, appropriate cutting tools for the insulation boards (e.g., a sharp knife or saw).
Step 2: Preparing the Roof Surface The existing roof surface must be clean, dry, and free from any debris, loose materials, or sharp objects. Sweep the roof thoroughly. If there are any damaged or deteriorated areas, repair them before proceeding. Ensure the surface is structurally sound and capable of supporting the added weight of the insulation and roofing membrane. Prime the surface with a primer recommended by the insulation board manufacturer to promote adhesion. Clean the roof thoroughly. Repair any damage. Prime the surface.
Step 3: Laying the Tapered Insulation Boards Start laying the tapered insulation boards at the highest point of the roof (the point where you want the water to drain *away* from). Follow the manufacturer's instructions for adhesive application. Apply adhesive to the back of each insulation board, or to the roof surface, as specified. Carefully position each board, ensuring it's properly aligned and butted tightly against adjacent boards. Use a straight edge to check the alignment and maintain the desired slope. Work your way across the roof, gradually building up the gradient. It's often helpful to dry-lay the boards first to ensure proper fit and plan the layout before applying adhesive. Start at the high point. Apply adhesive according to manufacturer's instructions. Align and butt the boards tightly. Check alignment with a straight edge.
Step 4: Sealing the Seams Once all the insulation boards are laid and the adhesive has cured (according to the manufacturer's instructions), seal all the seams between the boards with a suitable sealant. This will prevent water from penetrating between the insulation layers and compromising the roof's integrity. Apply the sealant evenly and smoothly, ensuring a waterproof seal. Apply sealant to all seams. Ensure a waterproof seal.
Step 5: Installing the Roofing Membrane Apply a suitable roofing membrane over the insulation. The type of membrane will depend on your specific needs and budget, and is always dependent on the type of insulation used, as well as its rating for use with certain membranes. Common options include EPDM rubber, TPO, or modified bitumen. Follow the membrane manufacturer's instructions for installation. This typically involves unrolling the membrane, overlapping the seams, and securing it to the roof surface with adhesive, fasteners, or heat welding, depending on the material. Ensure all edges are properly sealed to prevent water ingress. Choose a suitable roofing membrane. Follow manufacturer's instructions for installation (adhesion, fasteners, or heat welding). Ensure all edges are properly sealed.
Step 6: Finishing Touches and Inspection Once the roofing membrane is installed, inspect the entire roof for any imperfections or potential leak points. Address any issues immediately. Add any necessary finishing touches, such as flashing around roof penetrations (vents, skylights, etc.). Clean the roof area and dispose of any waste materials properly. Consider having a professional roofer inspect your work to ensure it meets building code requirements and provide peace of mind. Inspect for imperfections and fix them. Add flashing around penetrations. Clean the area. Consider a professional inspection.
Conclusion: A Well-Drained and Protected Flat Roof By following these steps, you can successfully create a gradient on your flat roof, improving drainage and preventing water damage. Remember to always prioritize safety and consult with professionals if you have any doubts or concerns. A properly installed gradient and roofing membrane will extend the life of your roof and protect your building from the elements.
Flat Roof Building Regulations
 www.homeadviceguide.com
 Flat-roof
gradientuk.com A Guide To Flat Roof Refurbishment
 gradientuk.com

0 komentar:
Posting Komentar